Red Bugs on Concrete: A Complete Guide to Clover Mites
Did you recently find some red bugs on the concrete near your home? These little bugs are called clover mites, and they can be damaging to your yard. But they can be treated, and prevented. Find out how!
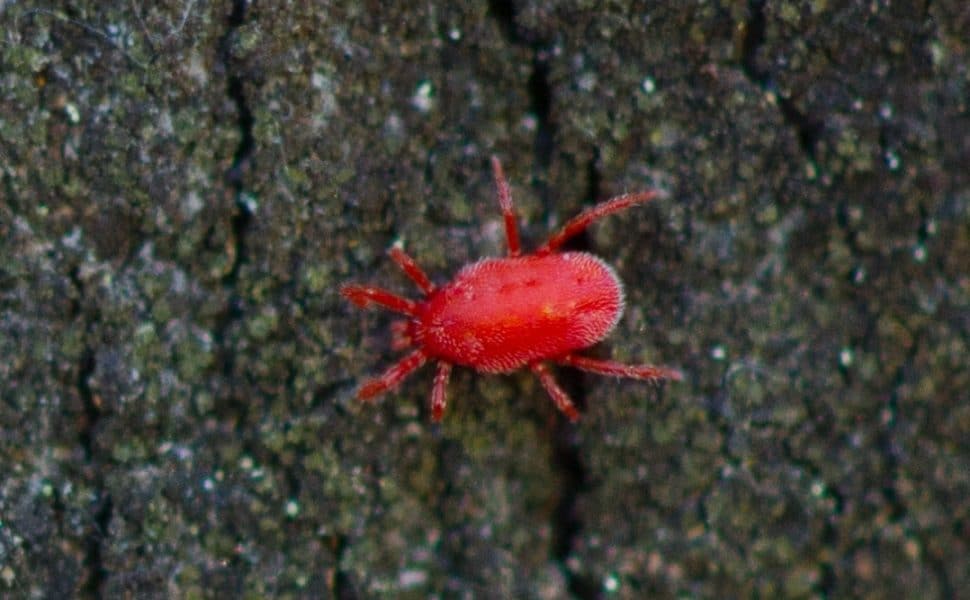
Find red bugs on the concrete near your home? Perhaps you’ve found them somewhere in your backyard? Bryobia Praetiosa Koch, also known as the clover mite, or the spider mite, is a mite species that is also related to the tick and spider. These tiny, red, or green mites are completely harmless to humans and animals. These tiny red bugs are much smaller and look nothing like cockroaches or other big insects.
You can often see these red bugs on concrete walls and sidewalks during the spring. Although, in large numbers, these tiny red bugs can significantly damage your lawn or garden.
It’s essential to learn how to recognize these microscopic pests to protect your home and yard. This guide will teach you to identify, locate, and eradicate them inside and outside the home. If you have an infestation, by following these steps, you will regain control of your yard.
Geographic Region
A common mite, clover mites can be found in every continent. They are also commonly referred to as spider mites. They thrive in every state of the United States. They prefer a humid climate where the temperature stays between 45 to 80 degrees. Because of this, they are more prevalent in the spring.
While harmless, these tiny red bugs can become a nuisance in the fall. To avoid the cooler temperatures, clover mites will migrate from your yard into your home to survive. They will often enter buildings from south sun-facing surfaces because they are more active in the warm sun.
During this time, you will see a bunch of red bugs on the concrete. These small red bugs are often called “concrete mites” because they like to lay their eggs in protective cracks in concrete walls. And because they are seeking shelter inside your warmer home. They have a distinct color, and look nothing like red fire ants.
Clover Mite Life Cycle
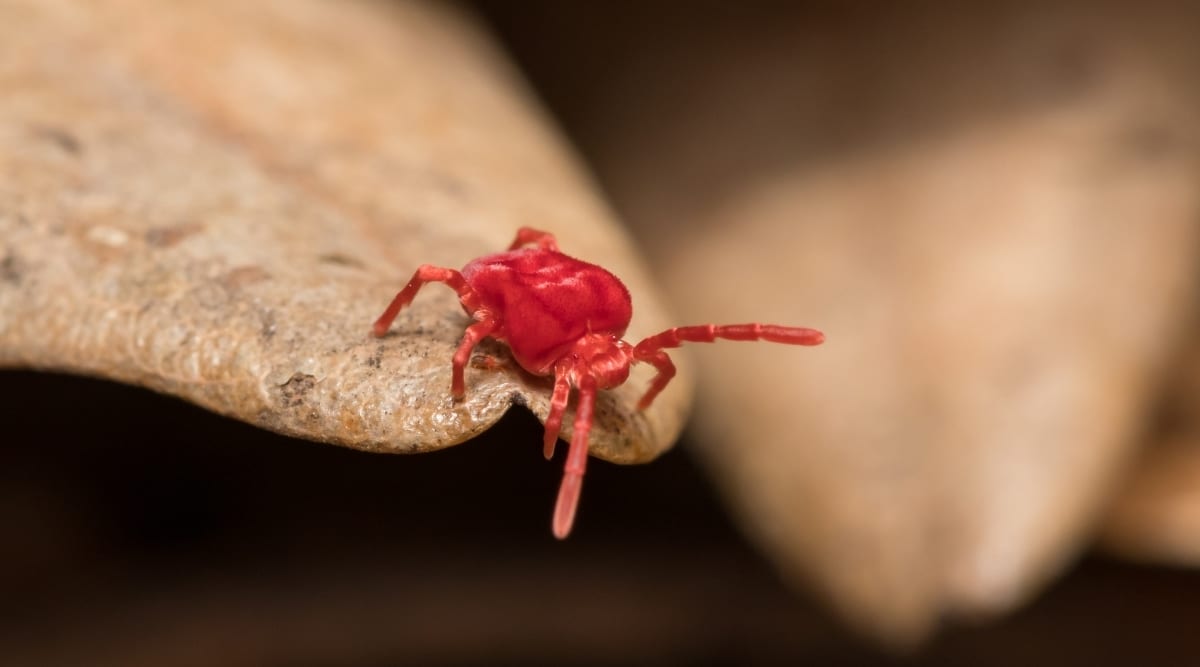
These tiny red bugs are a parthenogenetic species, which means they reproduce without fertilization. Spider mites are all female. A generation typically lasts about a month. The spider mite’s life cycle has five stages of development:
- Egg
- Larva
- Nymphal
- Adult
Egg Laying & Reproduction
These little red bugs typically lay eggs at least five to six times throughout the year. In the spring, egg-laying increases until the temperature rises above 85 degrees. Each mite can lay up to 70 to 80 eggs in groups or one at a time. A clover mite lays its eggs in dry areas like cracks and crevices to protect the eggs from the summer heat.
When the temperatures are too warm in the summer, they become dormant and doesn’t lay any eggs. As the temperatures cool down in the fall, the they resume activity and egg-laying. In the fall, they lay their eggs in enough sun exposure for when the temperatures drop in the winter.
According to Colorado State University, they reproduce at least two times during the colder season. Because they lay during the fall, these small red bugs are considered cool-season mites. When temperatures are too cold in the winter, their eggs will go dormant again but will become active if the weather warms and humidity levels are ideal.
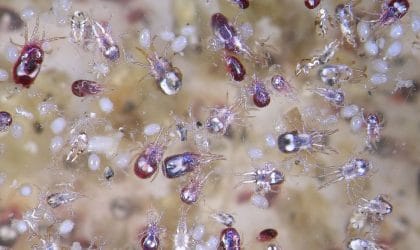
Clover mite eggs are bright red, circular, and the size of a speck of dust (about .12 mm in diameter). These bugs are almost undetectable to the human eye unless they are laid in large groups.
Clover Mite Larva
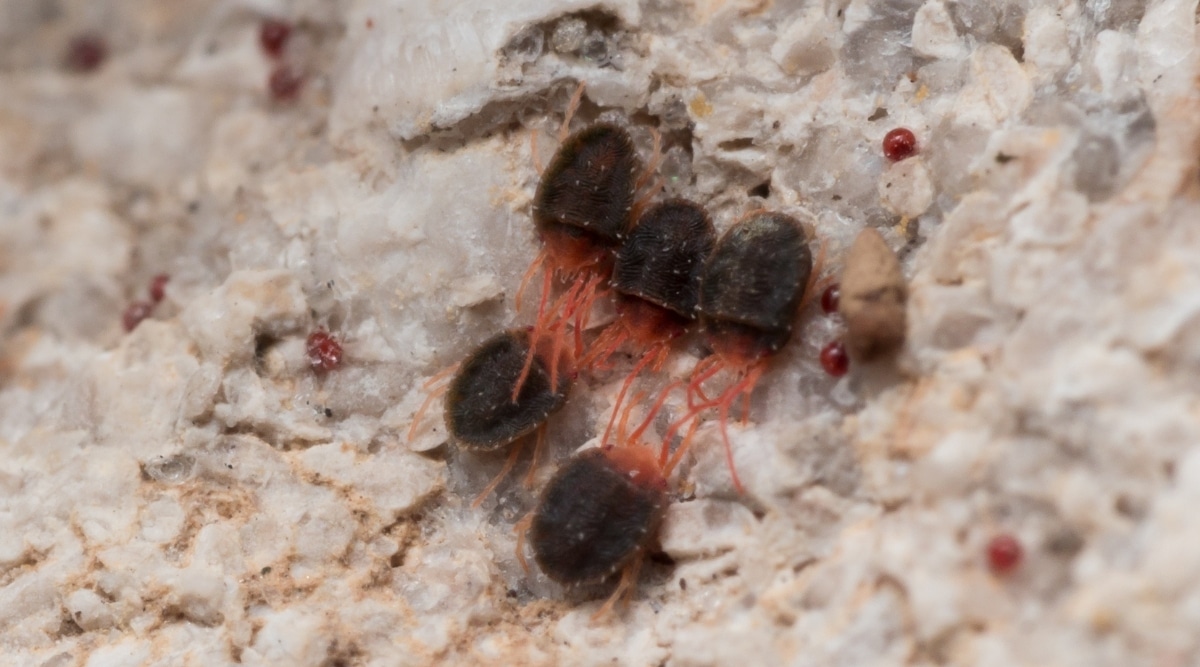
When they hatch during the spring and fall, they drop or move down out of the egg to the plants below. That is why they prefer to lay their eggs in cracks and crevices of house walls with grass below.
The larvae’s main goal during this phase is to find a host plant and feed. Spider mites prefer to eat grass and clovers, hence the name. But the larvae aren’t picky. If their host plant dies or dries out, these little red intruders will move to the nearest plant.
The Larvae are genetically identical to their mother. Clover mite larvae have long dorsal bodies that are serrated. Like their eggs, the larvae are bright red. During the Larva stage, the clover mite has six legs.
Nymphal
During the nymphal phase, they go through two molting stages:
- Protonymph
- Deutonymph
While in the protonymph and deutonymph stages, these red bugs do not move much. They mostly eat, which can last for several days.
When they are ready to molt, they will climb walls and tree bark to a dry, protected space where they will be dormant for a few days during the molting process. After they shed their old skin, they return to feed on their host plant.
It is during this phase that the spider mite becomes eight-legged like the adult mites. The two front legs grow out twice as long as their other legs. These long legs extend forward from their head. These elongated front legs are what separate them in appearance from other spider mites. However, you would need a microscope to see them.
Their bodies change during this phase, becoming more oval and having tiny ridges. The mite’s abdomen also has layers of featherlike plates. Their coloring becomes more rusty red, brown, or greenish-brown.
Adult Clover Mite
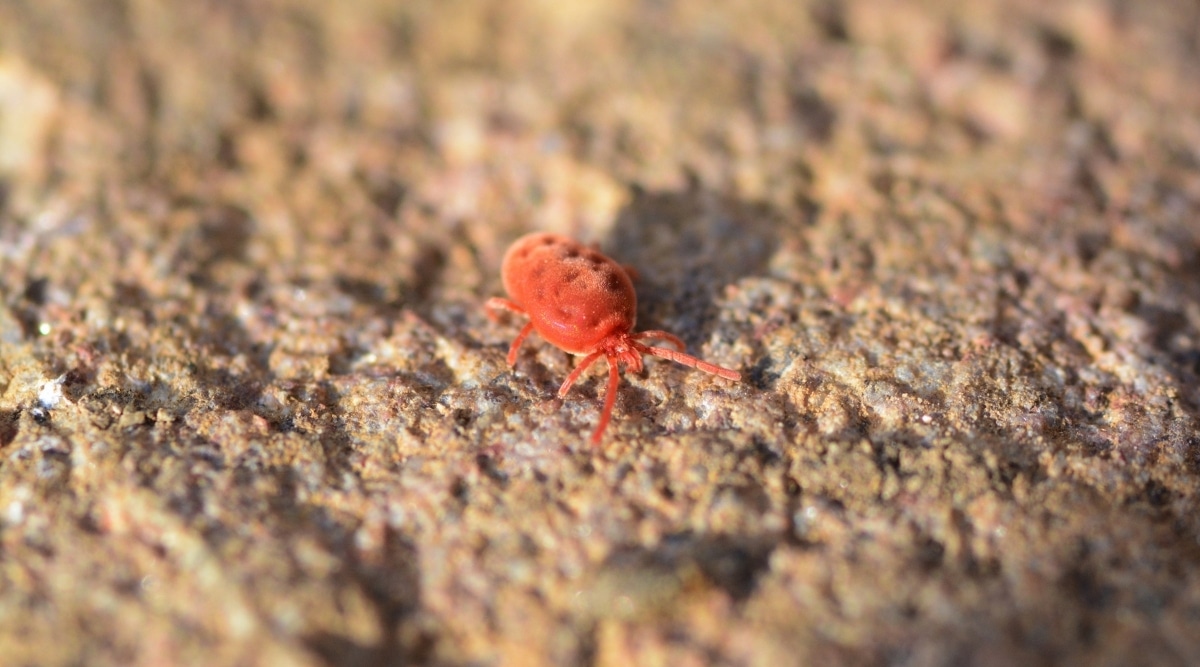
By this stage, the adult clover mite is fully grown to the size of a pinhead, which is about .75 to .85 mm. These tiny mites are actually one of the largest mites that eat plants. As an adult female, they are now ready to eat more and lay eggs. Thankfully, the adult mite does not bite or attack people or animals.
Adults live for about two weeks. But during these two weeks, the adult mite is very busy scurrying between host plants and safe areas to lay eggs. These red bugs move reasonably quickly for their size.
Sensitivity to Temperature
When the sun is out, and the weather is warm, they are very active. When the sun goes down, or the weather cools, the mite stops moving and goes dormant until the sun returns or the weather improves.
Because the mites are sensitive to temperature, they will die if the temperature is above 102 degrees Fahrenheit. And they will go dormant if the temperature is above 85 degrees Fahrenheit. That is why they often seek safety inside a home during hot summer months.
If the temperature gets below 70 degrees Fahrenheit, the adults and eggs will go dormant until the weather gets warmer. During the fall, clover mites gravitate toward warm surfaces. You will often see masses of red bugs on warm concrete walls.
They will also move inside your home in the fall to find a safe place to lay eggs before winter. They often attach themselves to walls, under window sills, in basements, attics, and inside tree trunks. While the eggs are bright red, they are challenging to spot unless they are in groups.
Host Plants
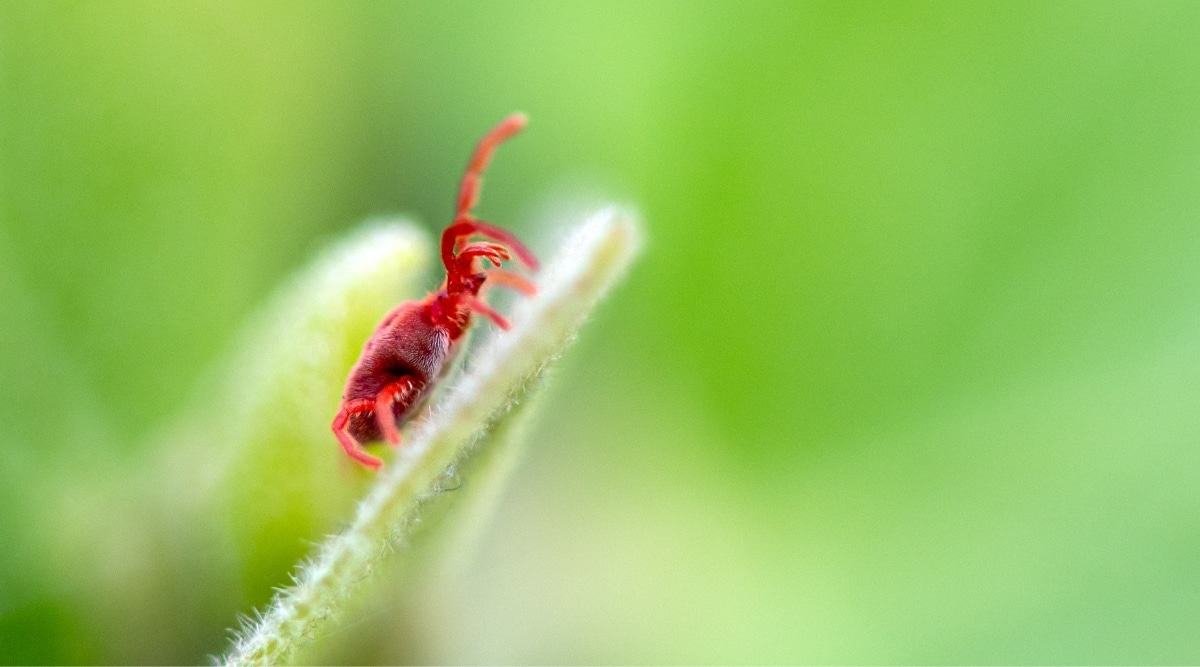
Clover mites feed on plants by sucking the plant’s juice. The clover mite bites along the plant, leaving a silvery residue. This can create a frosted appearance to lawns or under trees. You may notice their silvery trails before you see them on your plants or grass.
While they prefer clovers and grass, they also gravitate toward shrubs, weeds, and trees. They are also attracted to mulch. Mulch has nutrients and provides a warm space to hide. Because they are so small, they generally don’t kill their host plant. Only large mite populations can be a problem.
Impact of Clover Mite Populations
In this next section, we’ll discuss the impact of larger clover mite populations. For the most part, these little red bugs are not harmful, but they can become a nuisance if there are many of them. Large mite populations can destroy grass and plants. While they can do more harm outside, they are mostly known for being a pest inside the home.
Outdoors
Particularly during springtime, these tiny red bugs can damage lawns and plants because this is when they are the most active. It’s also most commonly when these red bugs show up on concrete. Light brown, dead patches in your grass will appear irregularly around the perimeter of your home. They tend to stay with ten feet of a tree, building, or vertical surface to lay eggs and molt.
Just before winter, clover mite damage will occur in sunny, dry lawn patches. This is when the fall spider mites hatch and feed for one last cycle before winter. The damage is often mistaken for winter kill on the lawn.
Because they also need a water source, large populations can also congregate around water sources like pools and sprinkler systems. If you live in an area where it rains more often, then the mites won’t need to find a water source.
The University of Missouri stated that when a lawn’s soil is high in nutrients, then the potential for a clover mite infestation is also high. New homes with new sod often experience clover mite infestations. And lawns that use a lot of fertilizer tend to encourage larger mite populations.
Indoors
They find their way inside homes through cracks and crevices near doors and windows. They migrate inside at the end of spring and during the fall. They don’t do any damage to furniture, upholstery, or clothing. But if smashed, they leave a red streak on the wall, floor, or furniture.
These tiny bugs can be a significant pest for homeowners. If they get inside, they can stain clothing, furniture, rugs, and curtains if they are squashed. And they are an eyesore as they crawl in large groups on your walls and floor.
Prevention
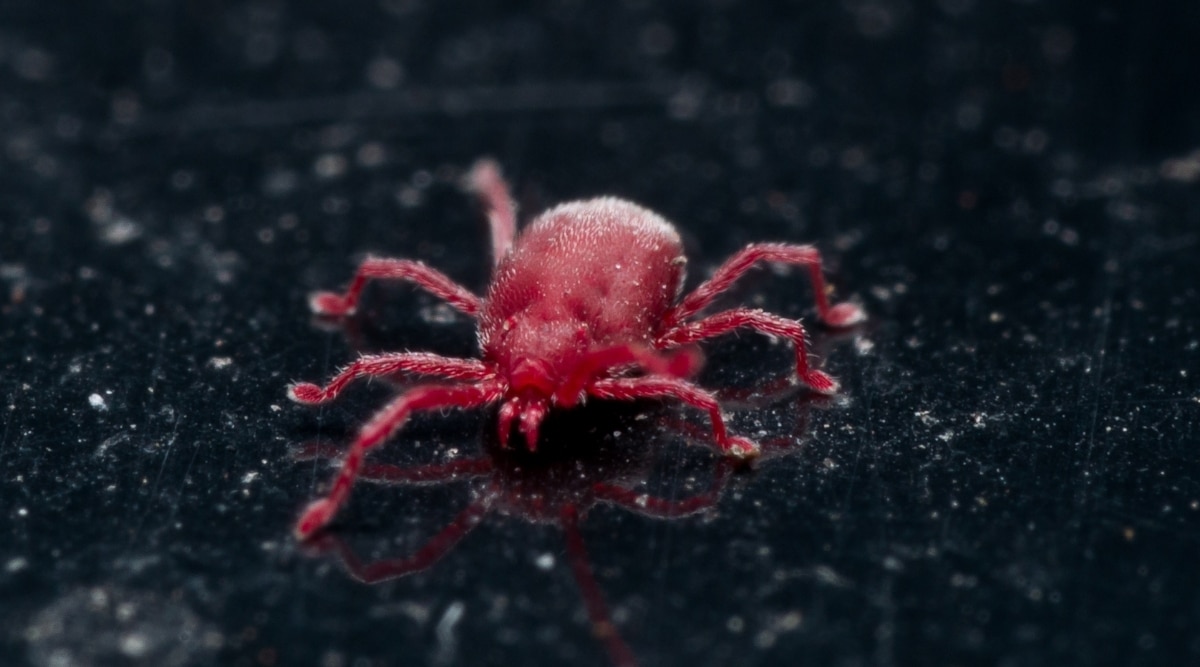
Preventative measures are the best defense against large clover mite populations. By following these tips, you can safeguard your yard and home. The best prevention tips include:
Create a Plant-Free Perimeter
To keep them off your walls and away from your foundation, create a plant-free perimeter around your home. Colorado State University recommends a three-foot border for the best protection. The south and west side of your home is the most vulnerable because those directions get more sun.
Plant Flowers and Bushes that Discourage Clover Mites
Please refrain from using mulch to fill in the perimeter because it won’t impede them because they like mulch. Rocks, sand, or gravel are a better alternative for a perimeter groundcover. You can also plant flowers and shrubs that they are not attracted to, such as:
- Salvia
- Geraniums
- Petunias
- Roses
- Marigolds
- Zinnias
- Yews
- Barberry
- Junipers
- Spruces
These are generally safe for discouraging large clover mite populations.
Don’t Over Fertilize Plants and Sod
These tiny red bugs thrive on plants with nutrient-rich soil. If you notice that your lawn shows signs of infestation, cut back on how much you fertilize. Once the clover mite population is reduced, you can return to fertilizing your plants and lawn.
Seal Windows, Doors, and Other Entry Points
To fortify your home from these tiny pests, you should caulk around windows and doors. Install weather stripping in high traffic areas like around doors. You may also want to caulk any cracks or holes in the foundation or the walls. This will prevent them from laying eggs on the house. Be sure to fix shingles that are missing or damaged. And fix torn window screens and door screens.
Water Extra in Areas Where Mite Congregate
While they do like humidity and water, supplementing your lawn with extra water in areas where there are large mite populations. The extra moisture can drown the mites as well as kill their eggs.
Fortify Your Vegetable Garden
These little red insects love vegetable gardens. You do not want to use pesticides near your edible plants. The best way to fortify your garden and keep them off your vegetables is to use diatomaceous earth (DE). By spreading the diatomaceous earth around your plants, you’ll create a safe perimeter the mites won’t cross. Diatomaceous earth is frequently used to ward off other insects, like ants, fleas, and cockroaches.
Eliminating Clover Mite Infestations
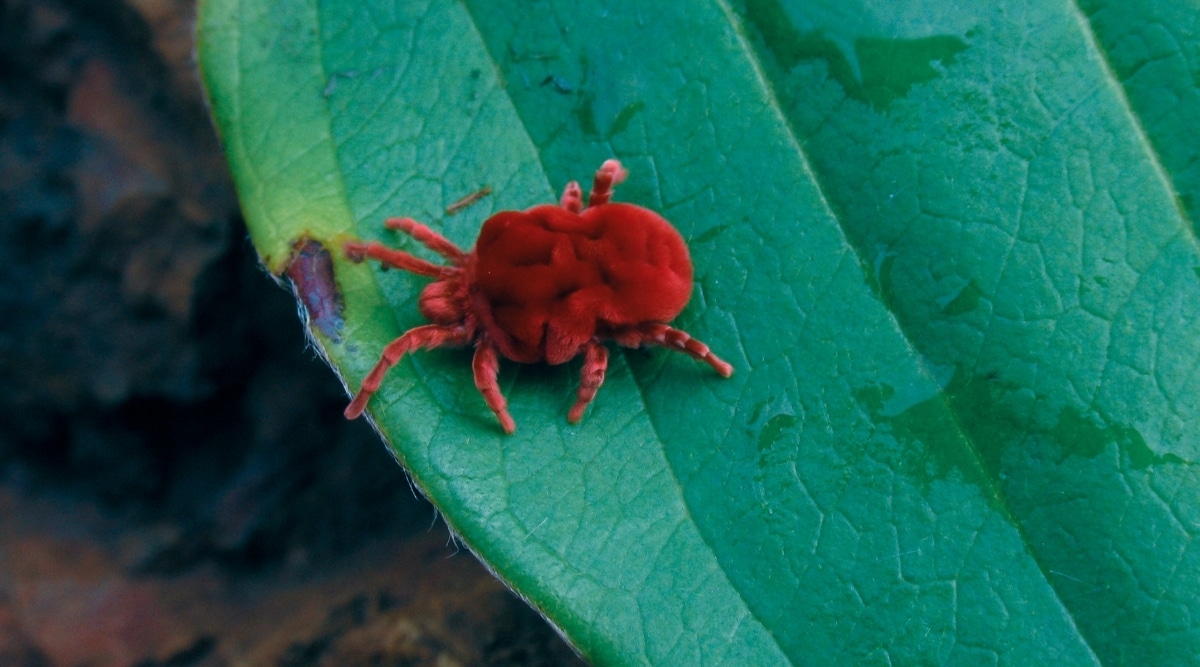
If you have a clover mite infestation in your yard or house, then you’ll want to eliminate them as quickly as possible so that their numbers don’t increase. Here are the best tips for exterminating large clover mite populations:
Vacuum Around Entry Points
A vacuum is actually an excellent tool for getting rid of mites without squishing their red guts onto the walls and furniture. Carefully vacuum around windows, doors, floors, cracks, furniture, and attic spaces. Seal the vacuum bag and carefully dispose of the mites in a garbage can that is not near your home.
Do not sweep spider mites. They will live red streaks all over your floors, furniture, windows, and walls. Their body fluids leave a stain that can be permanent on some surfaces.
Use an Insect Sweep Net
If there are only a few inside your house, you may want to use an insect sweep net. These nets are specially designed to capture these tiny bugs without smearing them all over your walls and house.
To easily scoop up these red insects, wait an hour after the sun has gone down. Theey will be dormant and not move while you sweep them up. When using an insect sweep net, be careful not to smash them against the surface.
Use Natural Products to Create a Wall Inside Your Home
Once you’ve vacuumed, create a sufficient barrier using natural powders around points of entry. The natural powders that are effective in deterring or killing these small red bugs include:
- Baby powder
- Baking soda
- Diatomaceous earth
- Corn starch
- Boric acid
These natural powders will not harm small children or pets if ingested and caught in time. Although some mites may still get through these barriers.
Use Double-sided Sticky Tape or Traps
You can also use double-sided sticky tape or traps on window sills and areas where spider mites congregate. The tape easily captures the tiny mites as they try to crawl over the tape. When the tape is full of mites, peel it off the sill, and throw it away in a garbage can outside the home.
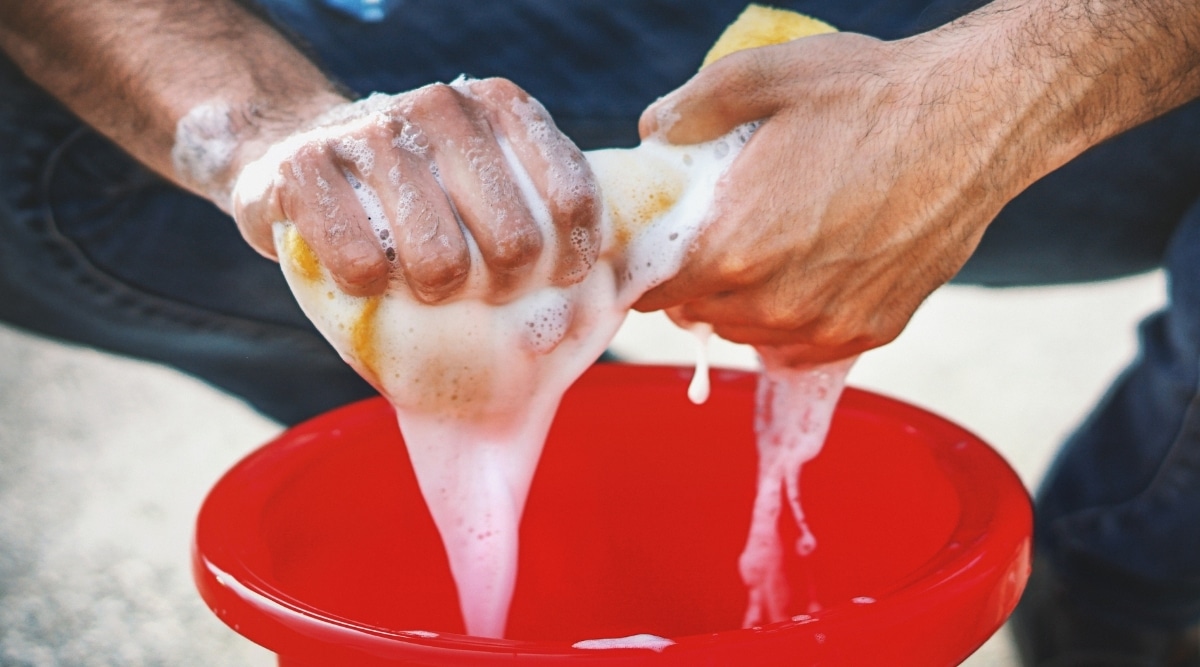
Wipe them with a Soapy Sponge
Using a soapy sponge or wet rag, gently wipe the spider mites with the sponge. This is effective when these red bugs show up on concrete. Use two tablespoons of dishwashing soap per gallon of water. When you wipe, be very careful not to crush the mites. Their tiny bodies will stick to the sponge, and you can rinse them down the sink or into a soapy bucket of water.
While this is effective for eliminating adult mites, this will not kill the eggs. You’ll need another treatment to prevent the eggs from hatching in and around your home. Unfortunately, for killing eggs, there isn’t a natural solution. You will need to use an insecticide to kill the eggs.
Treat with Insecticides
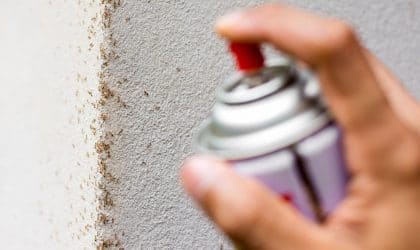
Spray your lawn, flower beds, and perimeter walls with an insecticide or miticide treatment. Depending on the infestation size, you may want to spray insecticide within ten to twenty feet from the building. You can also spray spot treatments in areas where you know the mites are living. You may need to spray several times during the spring and fall to kill all the eggs.
Spray a two-foot-high barrier on your building’s outside walls, around windows, and along the basement walls where spider mites may be inside, or their eggs may be. You’ll want to spray enough insecticide that the solution drips down the walls.
Insecticides Inside the Home
There is no need to spray a heavy-duty insecticide inside the home because they will die inside within a day if they cannot get food or water. But if you see them inside your home, you can use an over-the-counter insecticide and directly spray the mites. Wait a few minutes and then carefully vacuum the mites.
Pesticides are very poisonous. If you have small children in your home, make sure they are not inside the room where you are spraying insecticide. Never spray onto food or dishes. Store insecticides out of the reach of children and pets.
Best Times To Spray
It’s important to spray for spider mites in the spring or fall before the mites go dormant for the summer and winter. The insecticide will kill the mites before they have time to lay another round of eggs. You should follow up with another treatment in the fall if you sprayed in the spring to stop any hatched larvae from maturing.
Removing Red Streaks From Dead Bugs
When a clover mite gets crushed or smeared, it leaves behind a rusty red stain from its body pigments. These stains can be challenging to get out. And one of the main reasons these tiny pests are such a nuisance. Depending on the surface, you can use a:
- Fabric stain remover pen
- Clorox wipes
- Sponge and soapy water
If all else fails, you may need touch-up paint on hard surfaces like walls. If the stains don’t come out, you may want to consult a professional cleaning company. They may have more industrial cleaners for these annoying stains.
Seeking Professional Pest Control Assistance
If the clover mite infestation is beyond your control or you don’t want to deal with it, you should call a professional pest control specialist. These mites are extremely difficult to get rid of on your own because of their multiple egg-laying cycles.
Pest control companies have specially formulated insecticides that will act fast to kill clover mite adults, eggs, and larvae. They also know where spider mites like to lay eggs and may treat areas you didn’t think to spray. Even with a professional pest control company, it may take several treatments to eradicate a large infestation.
Wrapping Up
By following the outlined steps in this guide, you’ll be able to identify clover mites, prevent population spread, and eliminate an infestation. These tiny pests, while harmless to humans, can really damage your yard if left unchecked. And they can be annoying when they move inside the house in spring and fall.
If you have a clover mite infestation, remember to fortify your home by creating a plant-free perimeter, sealing all entry points, and using pesticides to eliminate the clover mites. If the infestation is beyond your control, call a professional pest control company to manage the infestation.
Share this post
Save time and money on pest control
Subscribe to expert DIY pest control tips, pest control product reviews and information.

